
Guide to Setting Up Your Profile in ATZ CRM
This guide explains how to configure your profile settings in ATZ CRM to personalize your account and optimize your experience.
Accessing the Profile Section
Section titled “Accessing the Profile Section”- Click your avatar in the top-right corner of the ATZ CRM interface.
Profile Configuration Steps
Section titled “Profile Configuration Steps”1. Updating Your ATZ CRM Profile Picture
- On the left side of the profile section, click the Upload button.
- Upload a new profile picture for your ATZ CRM account.

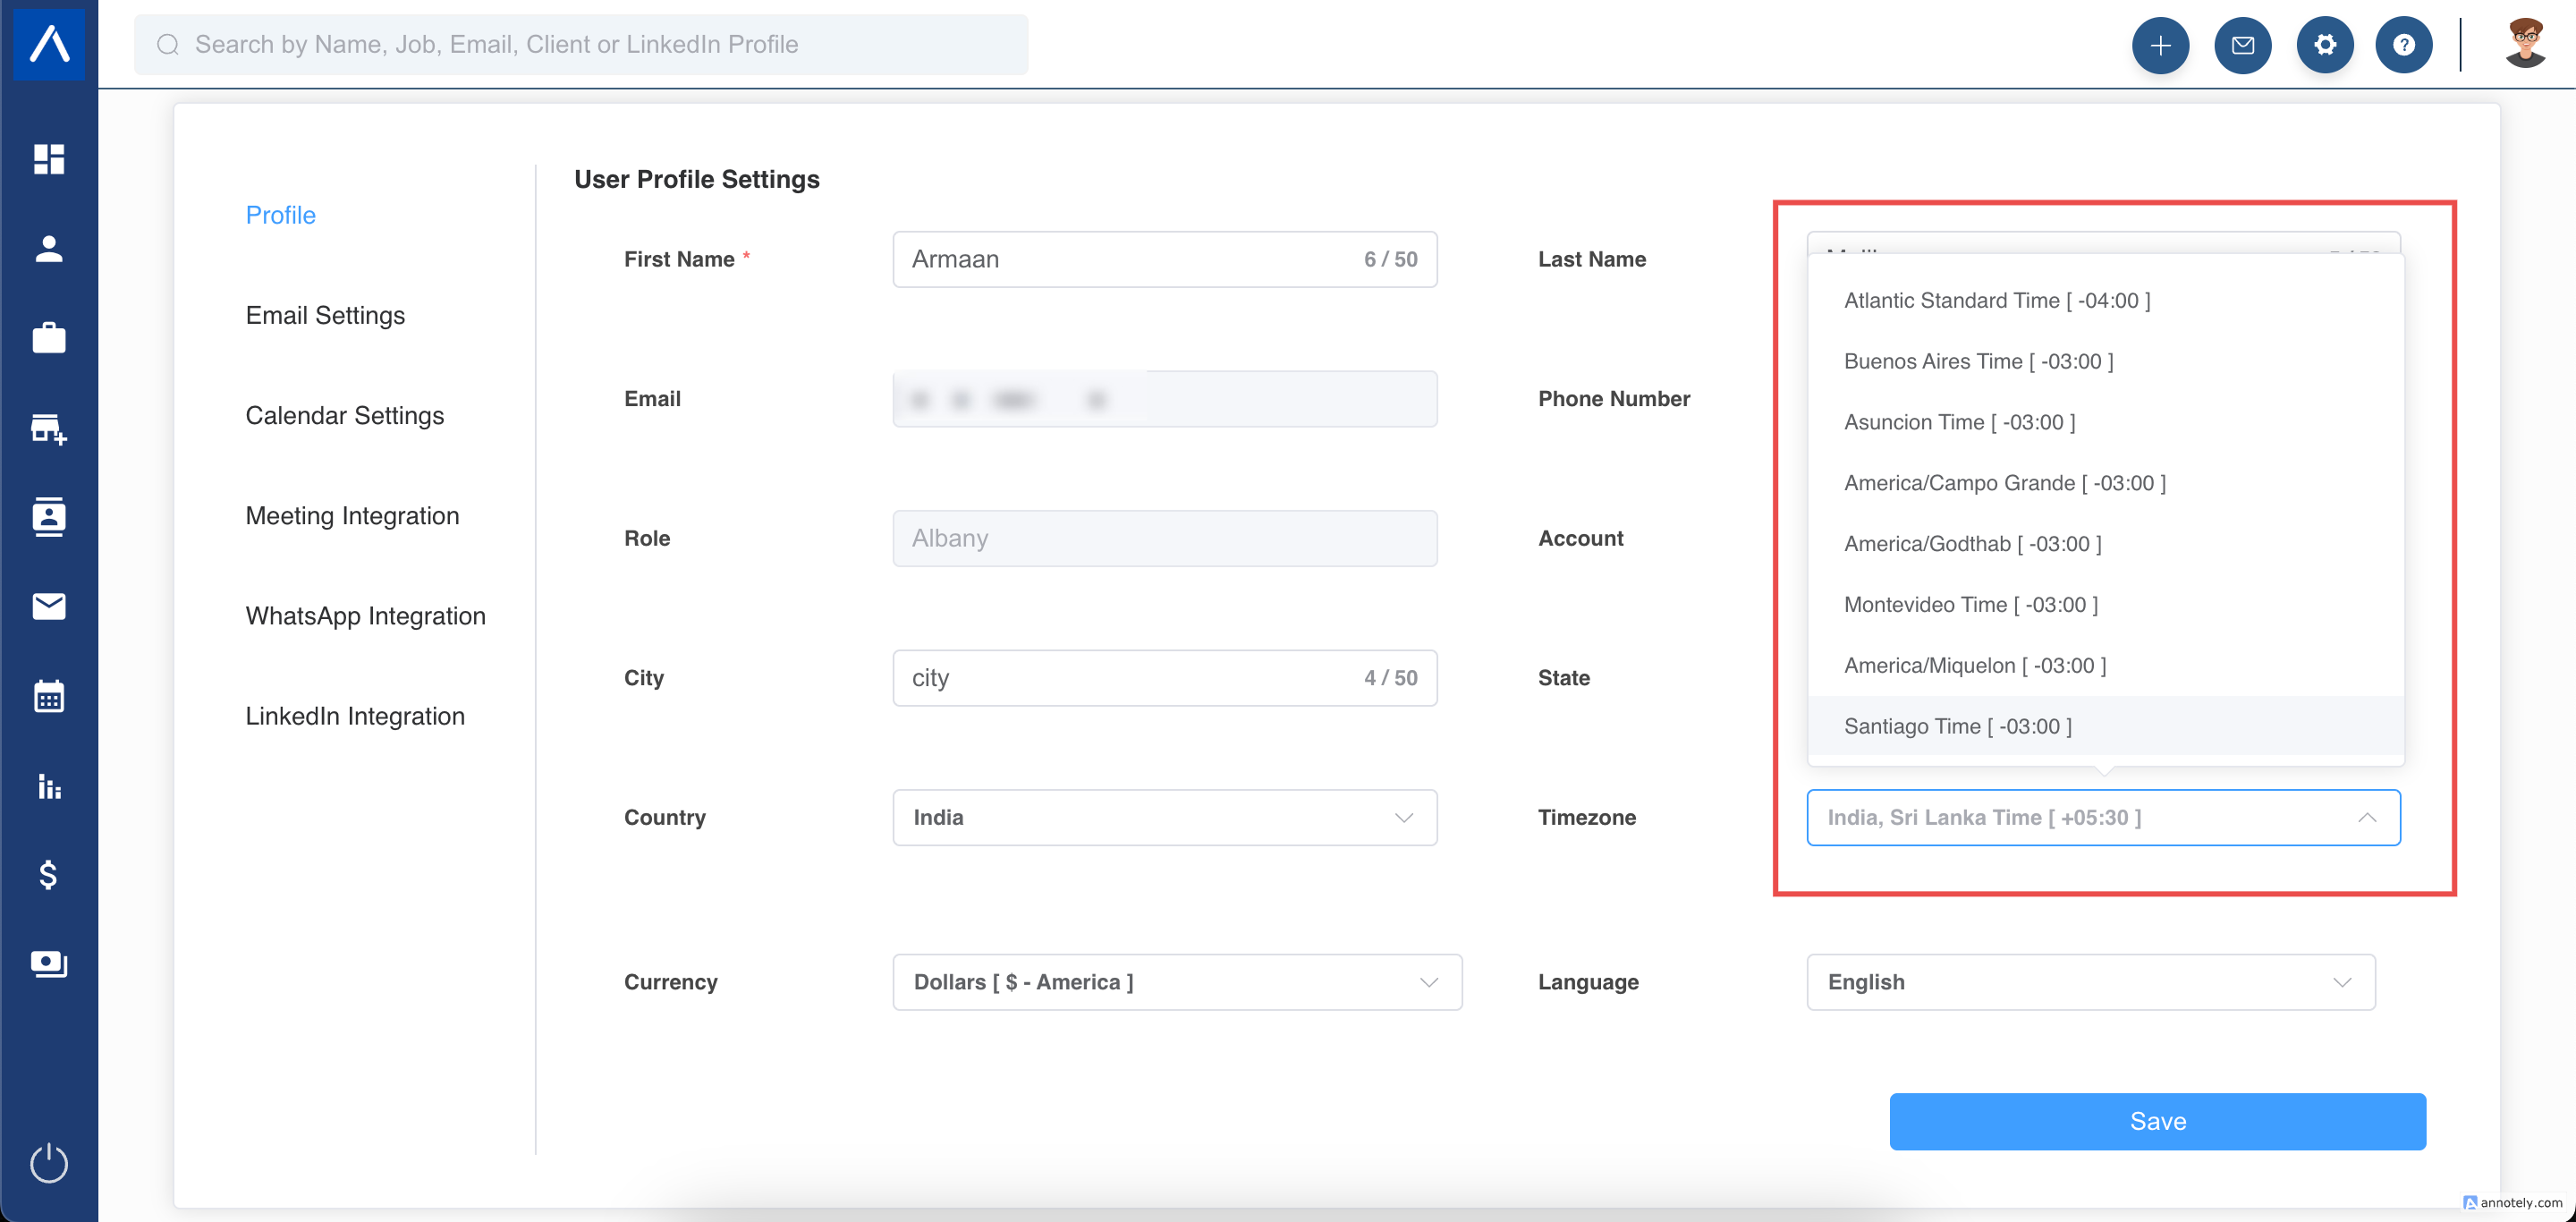
2. Setting Your Default Timezone
- Select your preferred timezone from the Timezone dropdown menu.
- Click Save Profile to apply the change.
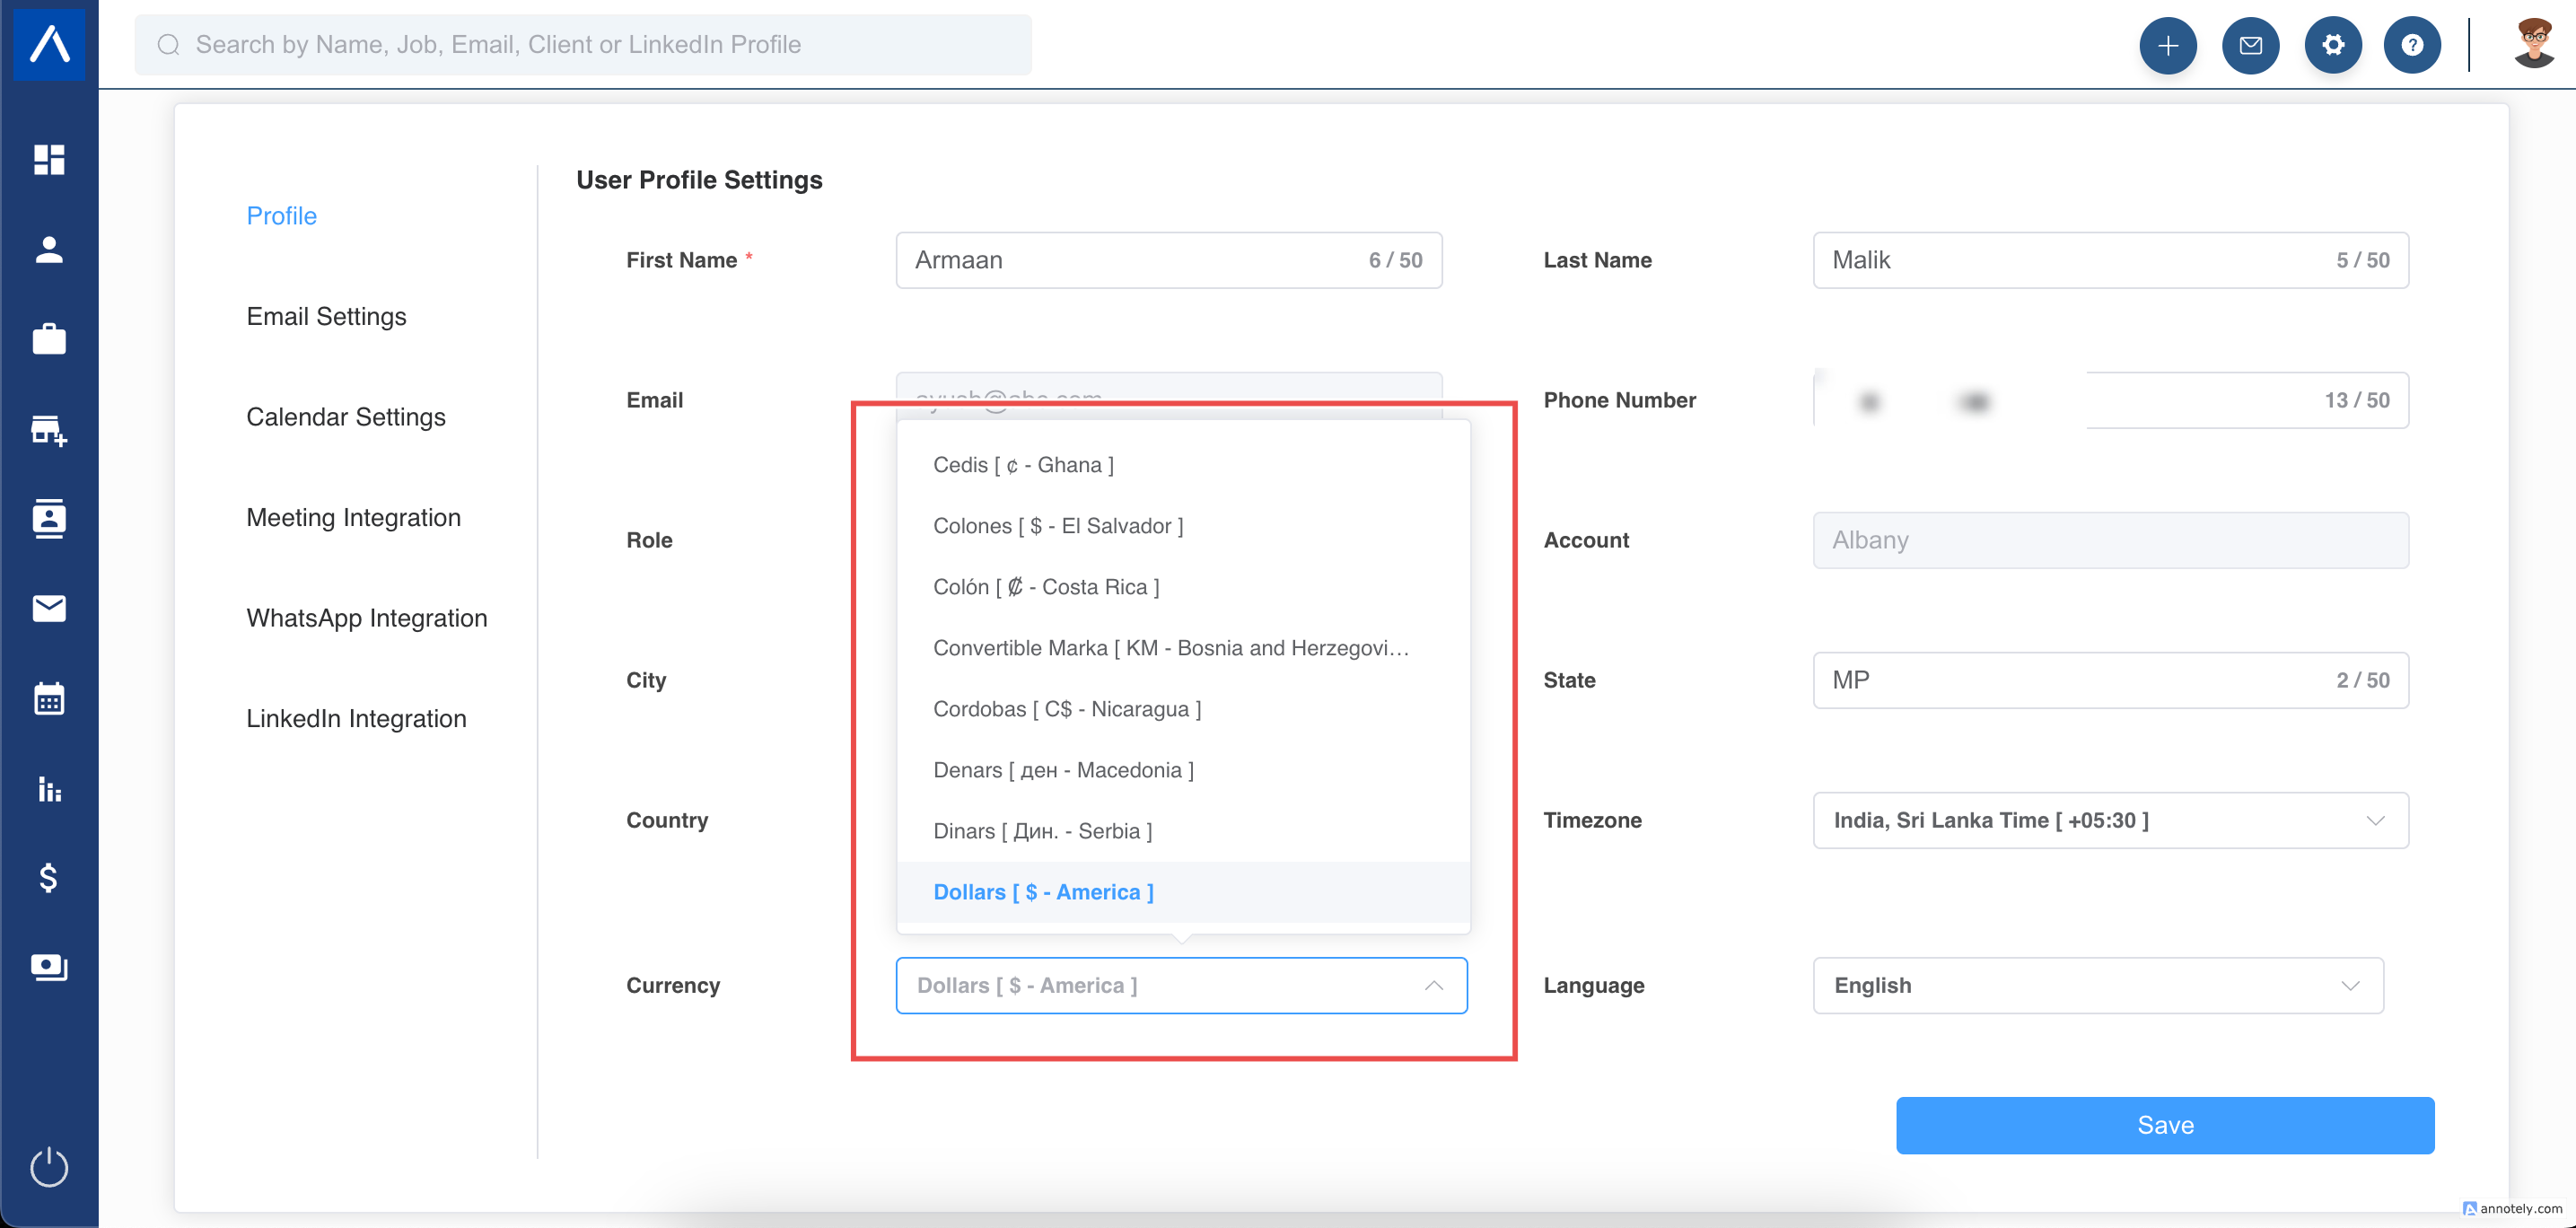
3. Setting Your Default Currency
- Choose your preferred currency from the Currency dropdown menu.
- This currency will be used as the default across ATZ CRM where applicable.
- Note: You can set different currencies for individual candidates or jobs by editing their respective profiles.
4. Changing Your ATZ CRM Account Password
- Follow the instructions in the Password Change Guide to update your account password.
5. Managing the Email Tracking Pixel
- Use the Email Tracking Pixel setting to control email tracking in ATZ CRM.
- ON: Adds a tracking pixel to emails sent from ATZ CRM to monitor engagement.
- OFF: Disables the tracking pixel to prevent emails from being flagged as spam or junk.
- Tip: If emails sent from ATZ CRM are landing in recipients’ SPAM/JUNK folders, turn the tracking pixel OFF.
Saving Changes
Section titled “Saving Changes”After making any changes, click Save Profile to ensure your settings are updated.
Support
Section titled “Support”For additional assistance, visit the ATZ CRM Help Center or contact ATZ CRM support.
Hope this helps:)