
How Email Triggers Work in ATZ CRM
ATZ CRM offers an Email Trigger feature that automates email communication based on workflow actions. Whether it’s informing candidates about their hiring status or updating client contacts, email triggers ensure that messages are sent instantly, consistently, and without the need for manual effort.
Note: An email connection is required to use email triggers and to connect your email
Candidate Email Triggers
Section titled “Candidate Email Triggers”Candidate triggers automatically send emails when a candidate’s hiring stage is changed. This simplifies communication and keeps candidates updated in real time.
How to Set Up
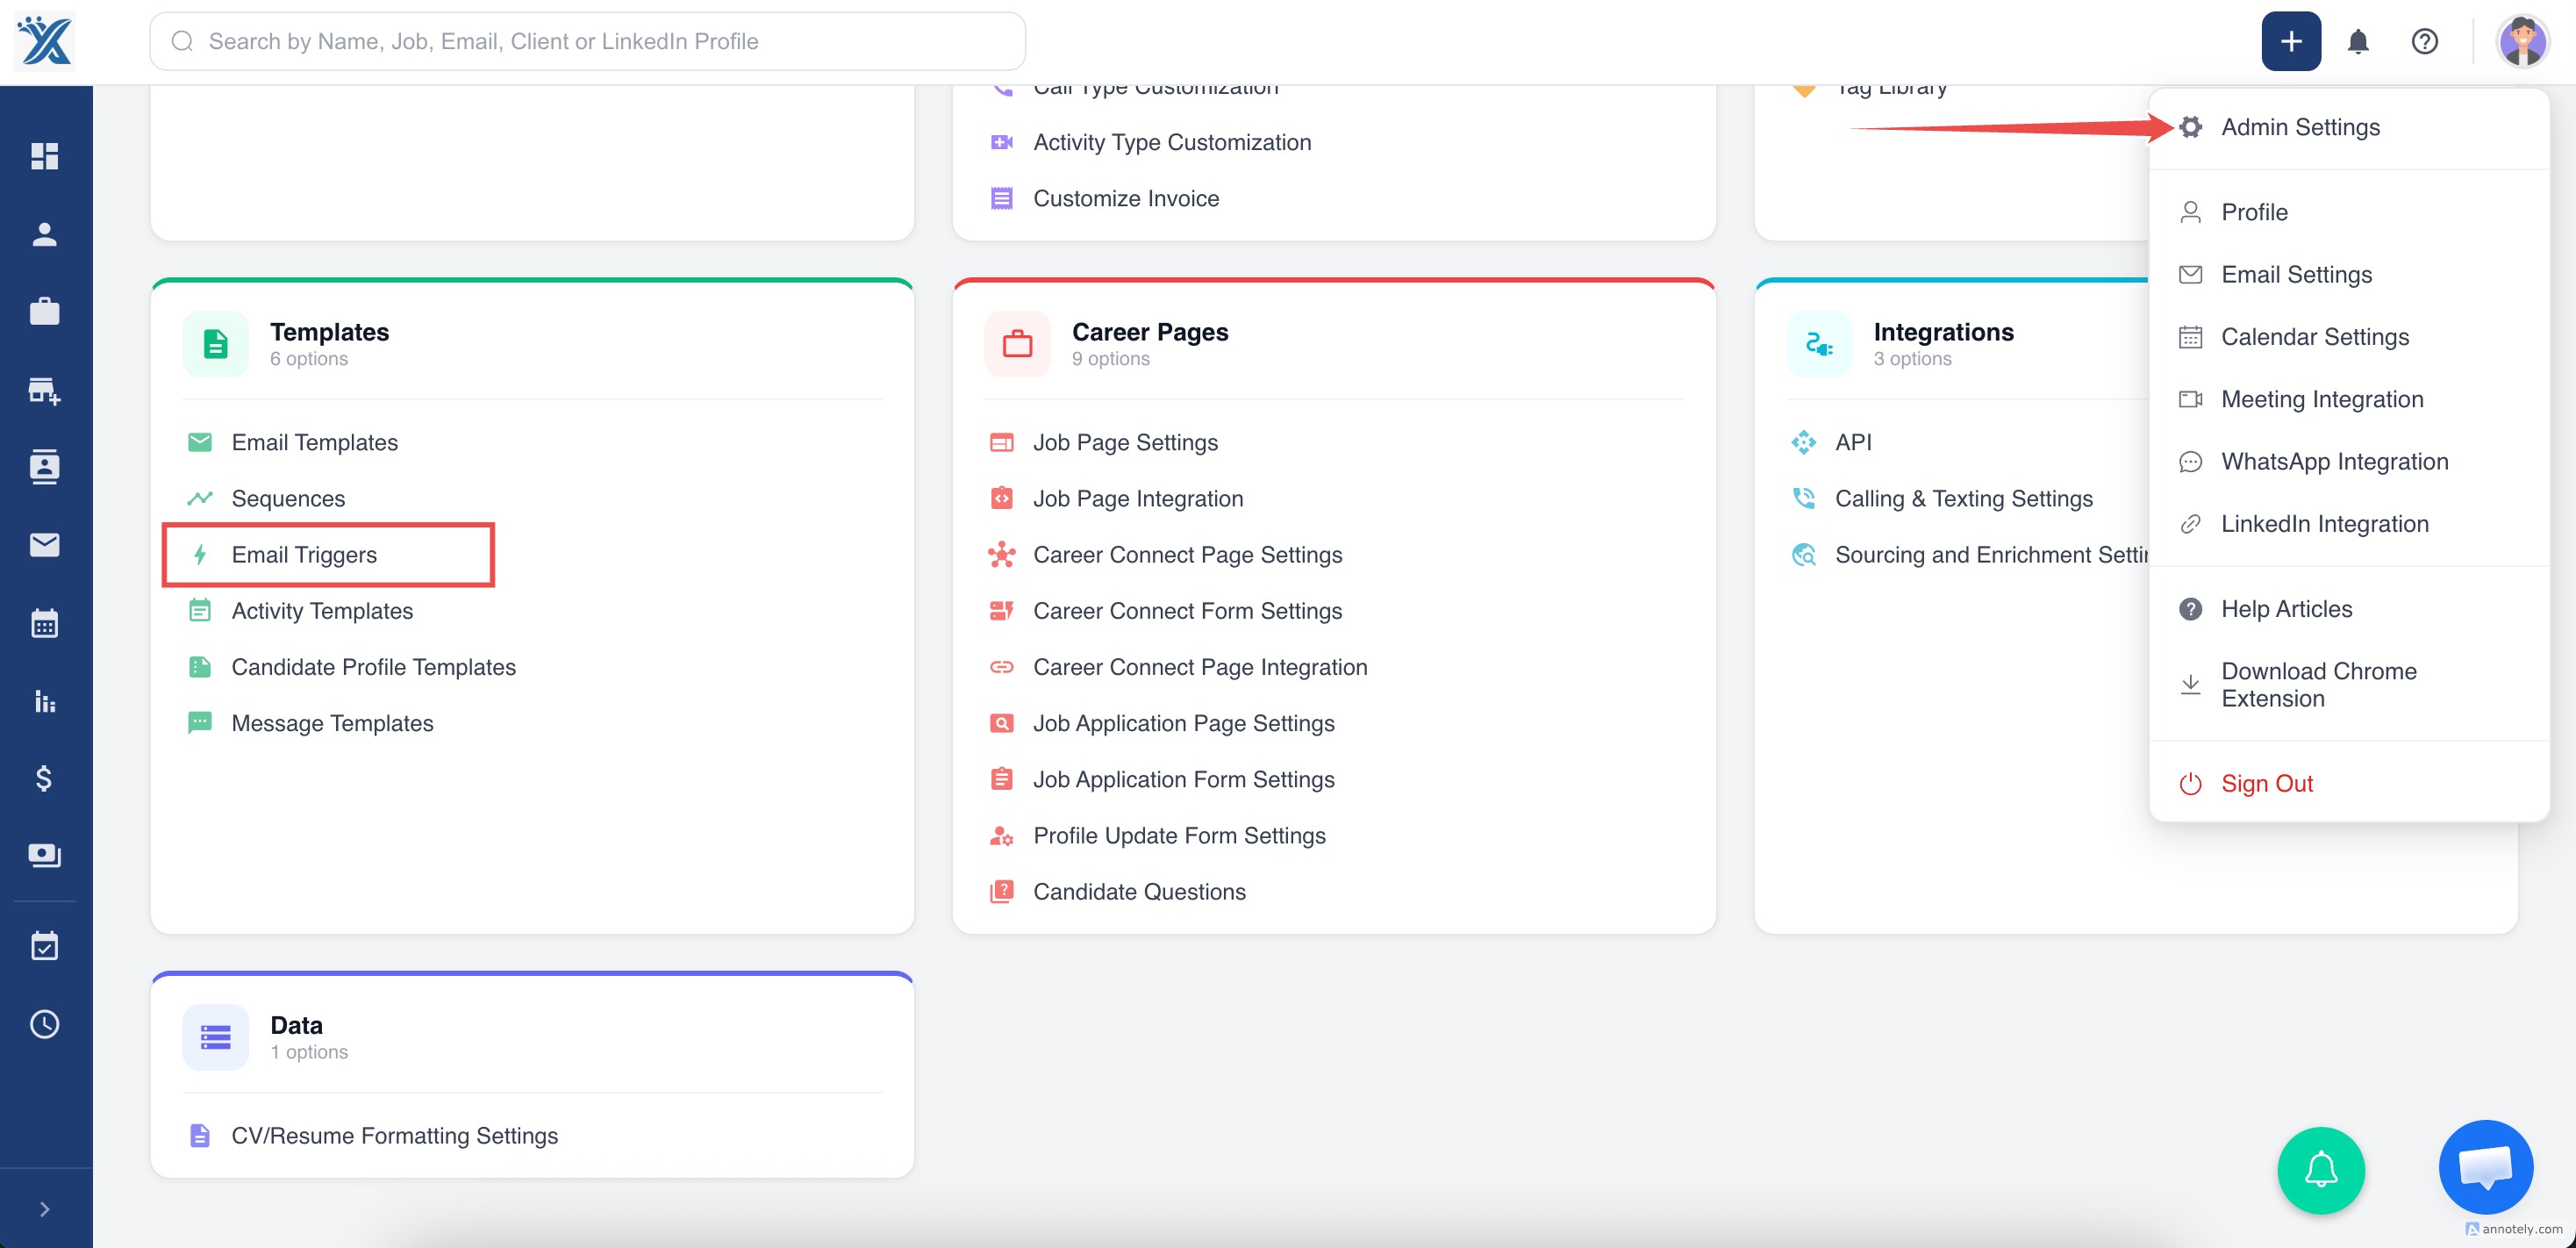
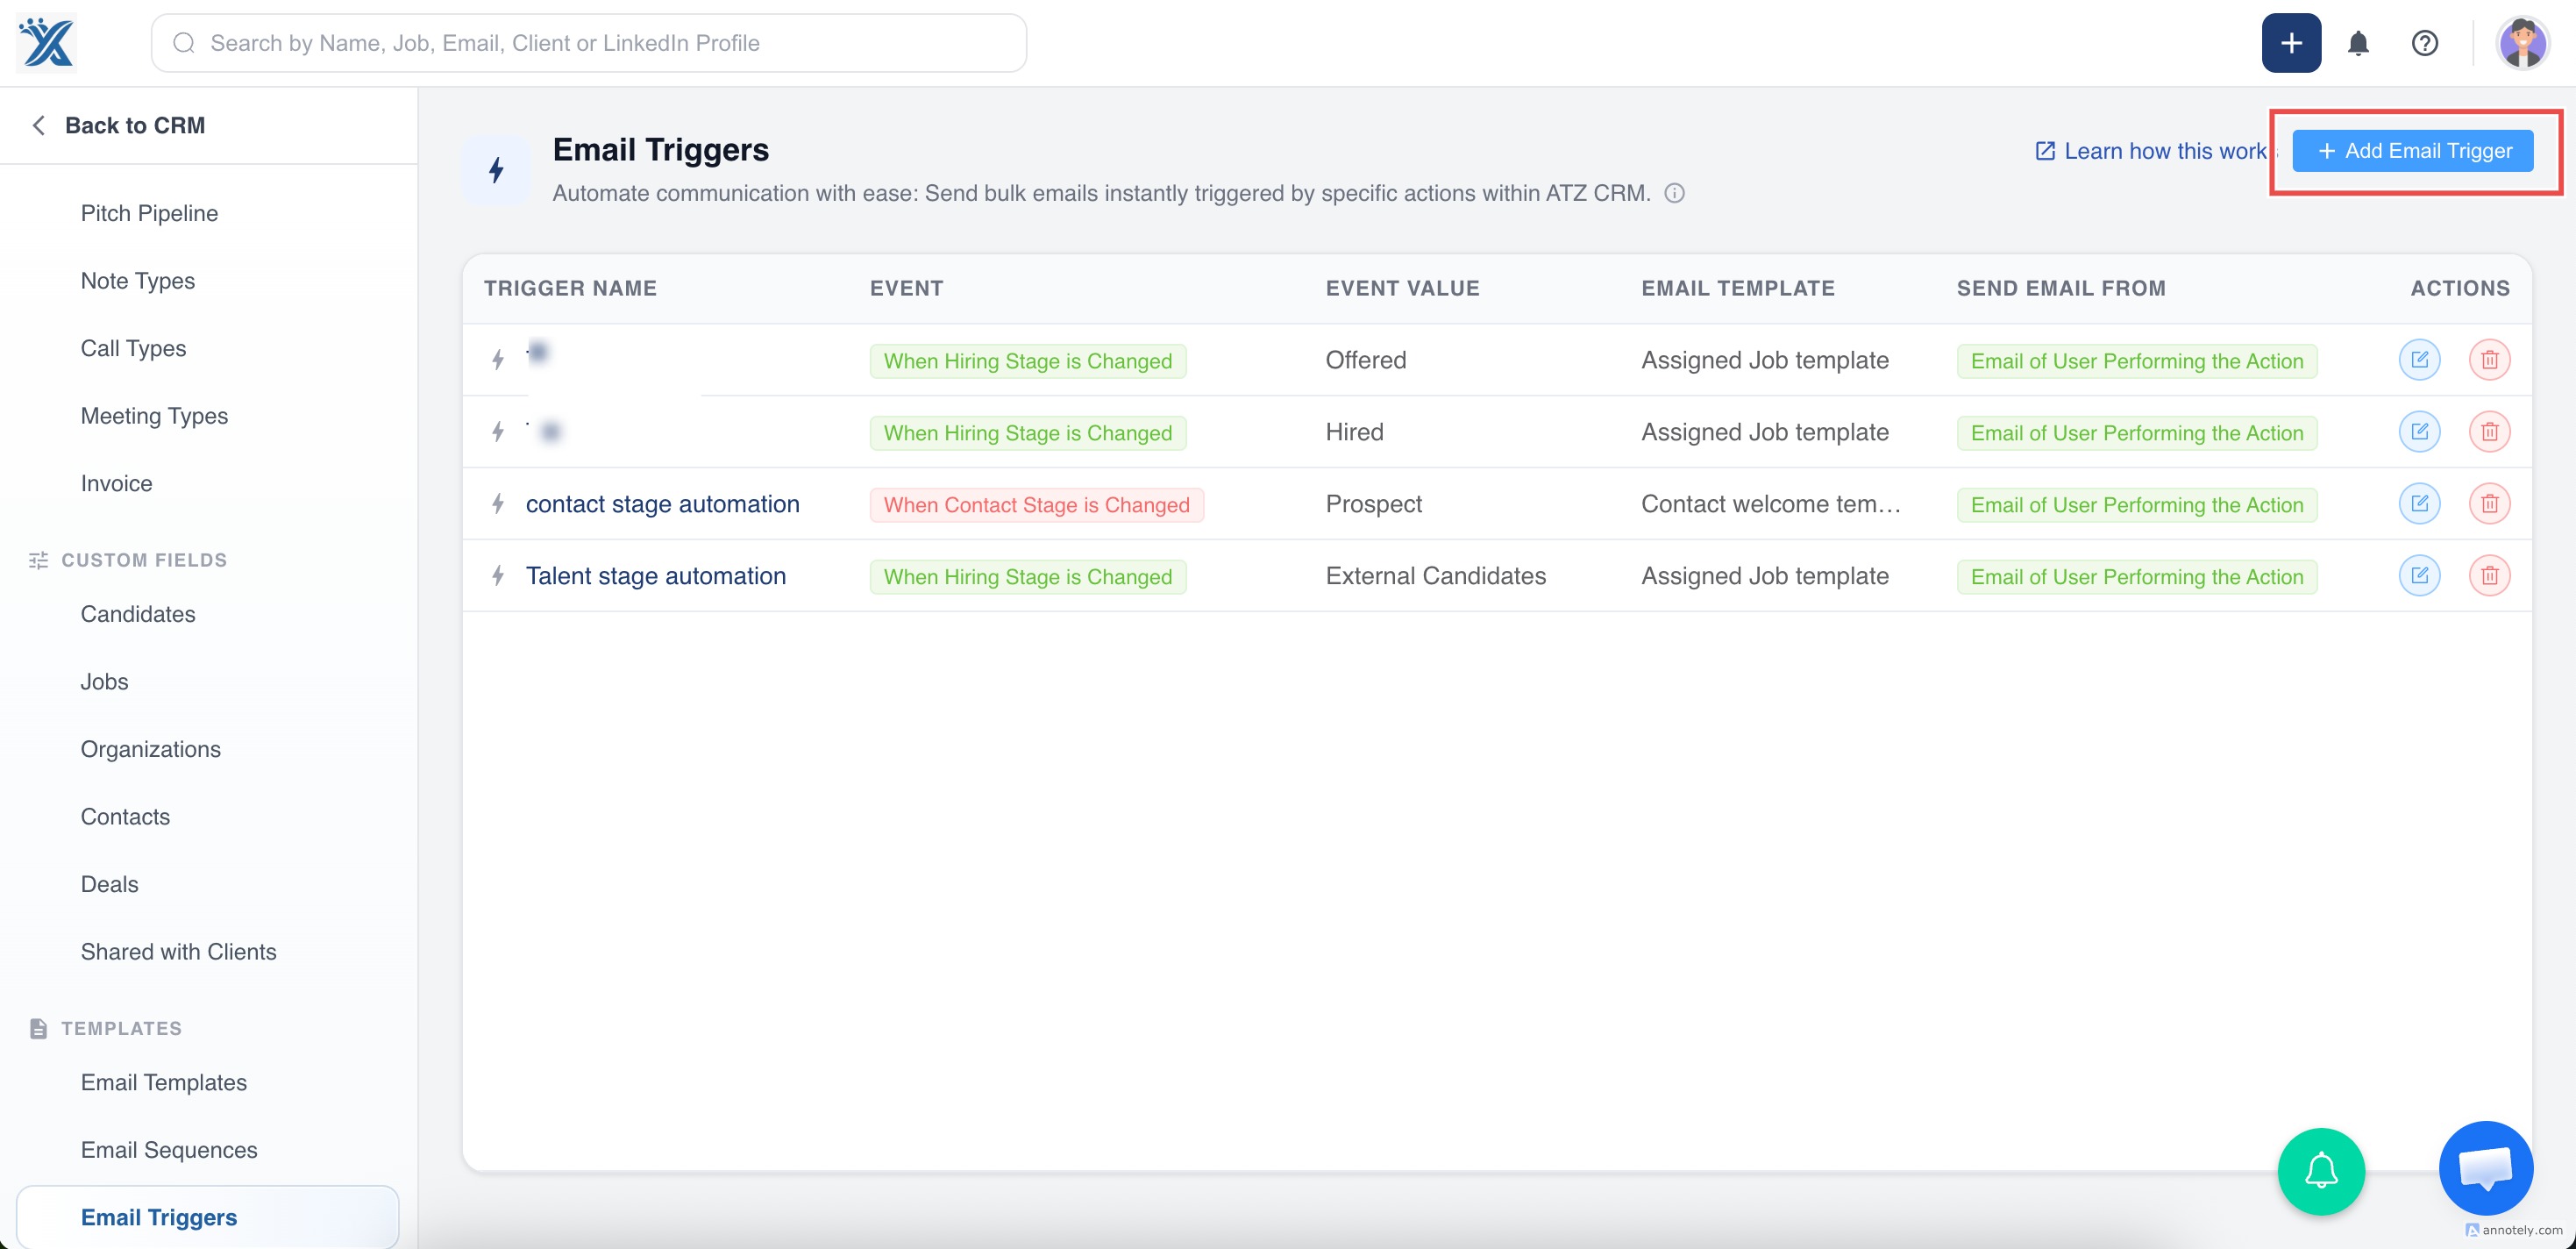
Section titled “How to Set Up”- Go to Admin Settings
Navigate to Admin Settings → Email Trigger.

- Click “Add Email Trigger”

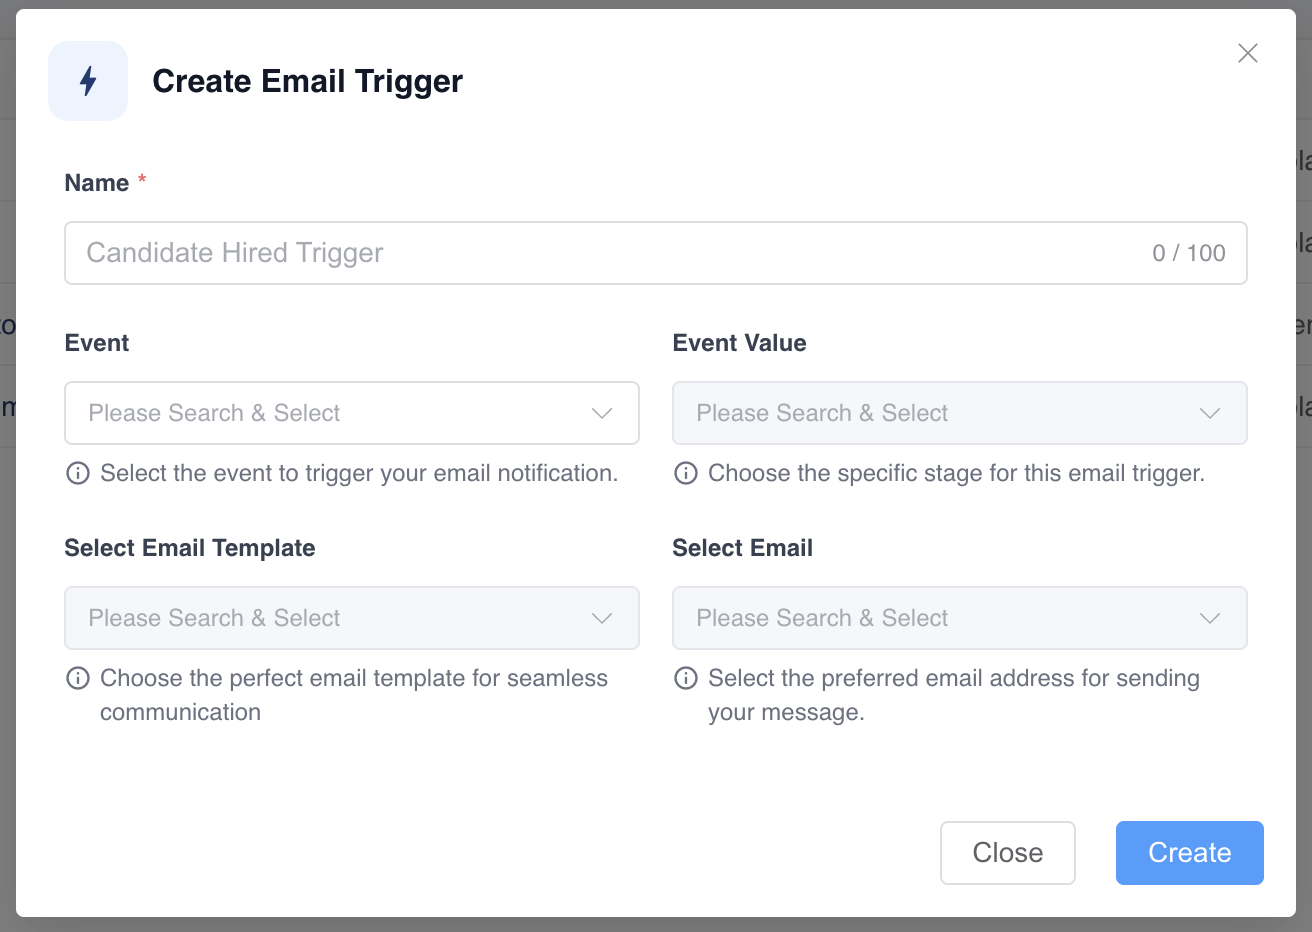
Fill in the following details:
- Name: Add a descriptive name for the trigger.
- Event: Select Hiring Stage is Changed.
- Event Value: Choose the hiring stage that should trigger the email.
- Select Email Template: Pick an automated template made for candidates.
- Select Email: Choose a connected and verified sender email address.
- Save the Trigger No manual activation is needed—saving it activates the trigger instantly
How It Works
Section titled “How It Works”- When a candidate is moved to the selected stage (e.g., from INTERVIEW SCHEDULED to INTERVIEW RESCHEDULED STAGE ), and a trigger exists for that stage:
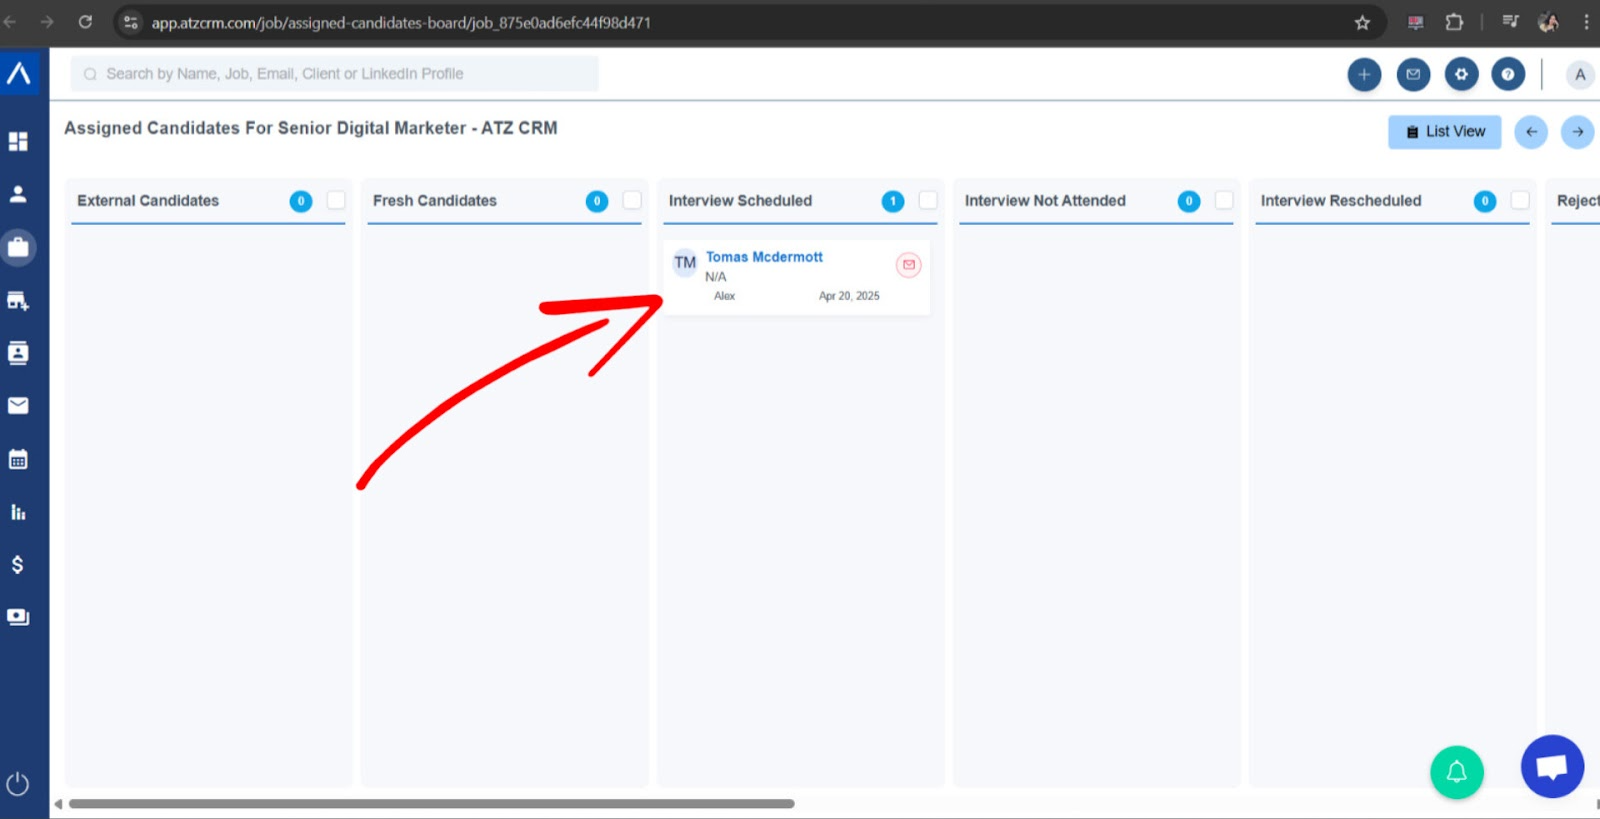
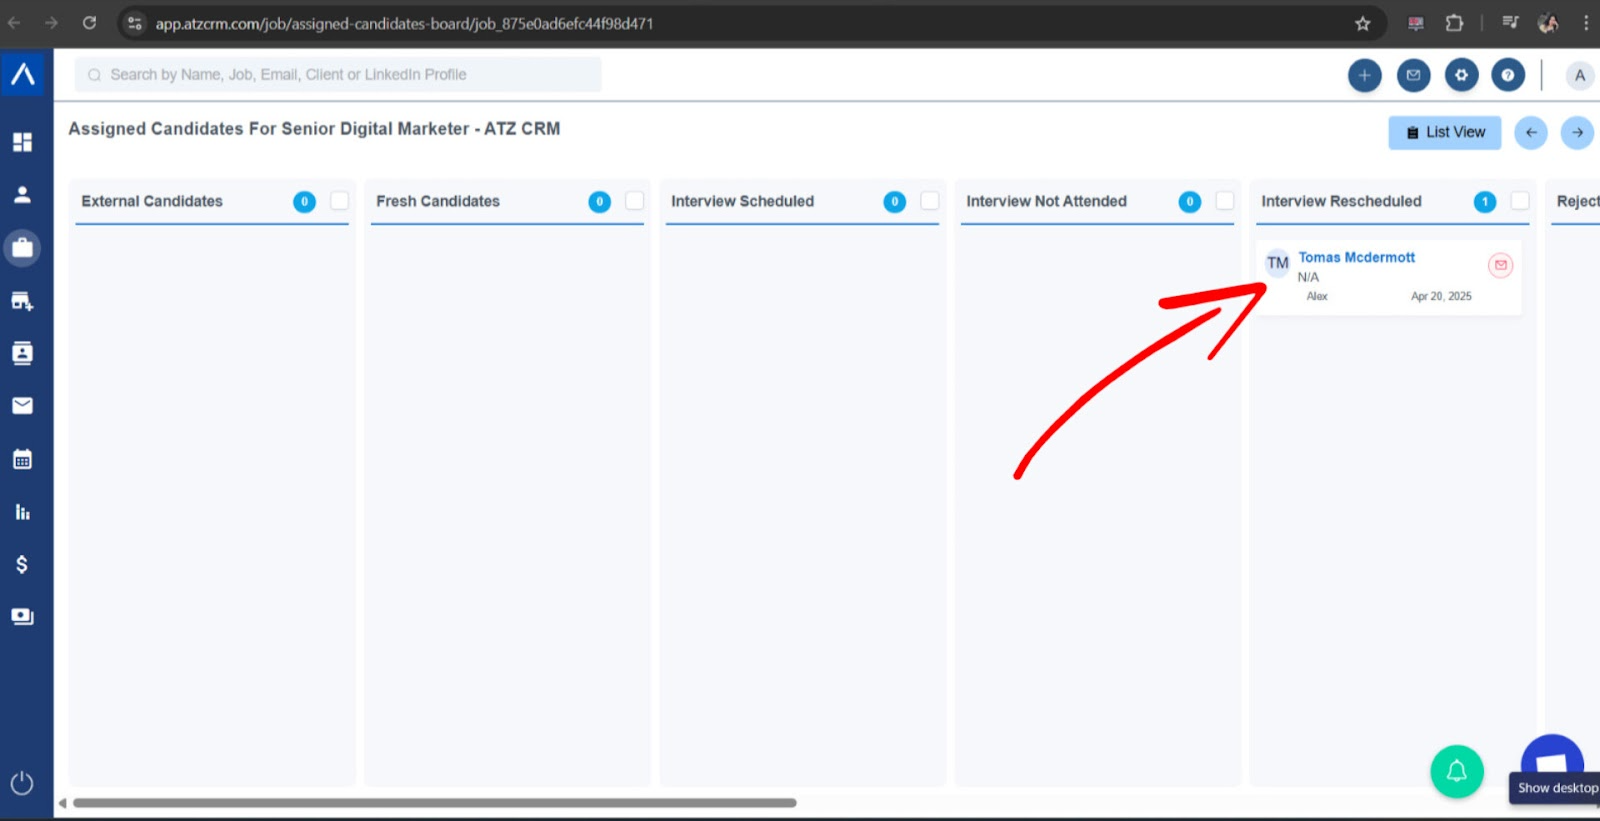
→ The selected template is automatically sent to the candidate.
- Emails are triggered instantly upon stage update, with no extra clicks required.
Example:
In Job XYZ, if a candidate is moved to the Hired stage and a trigger exists for it, the corresponding email will be sent immediately.
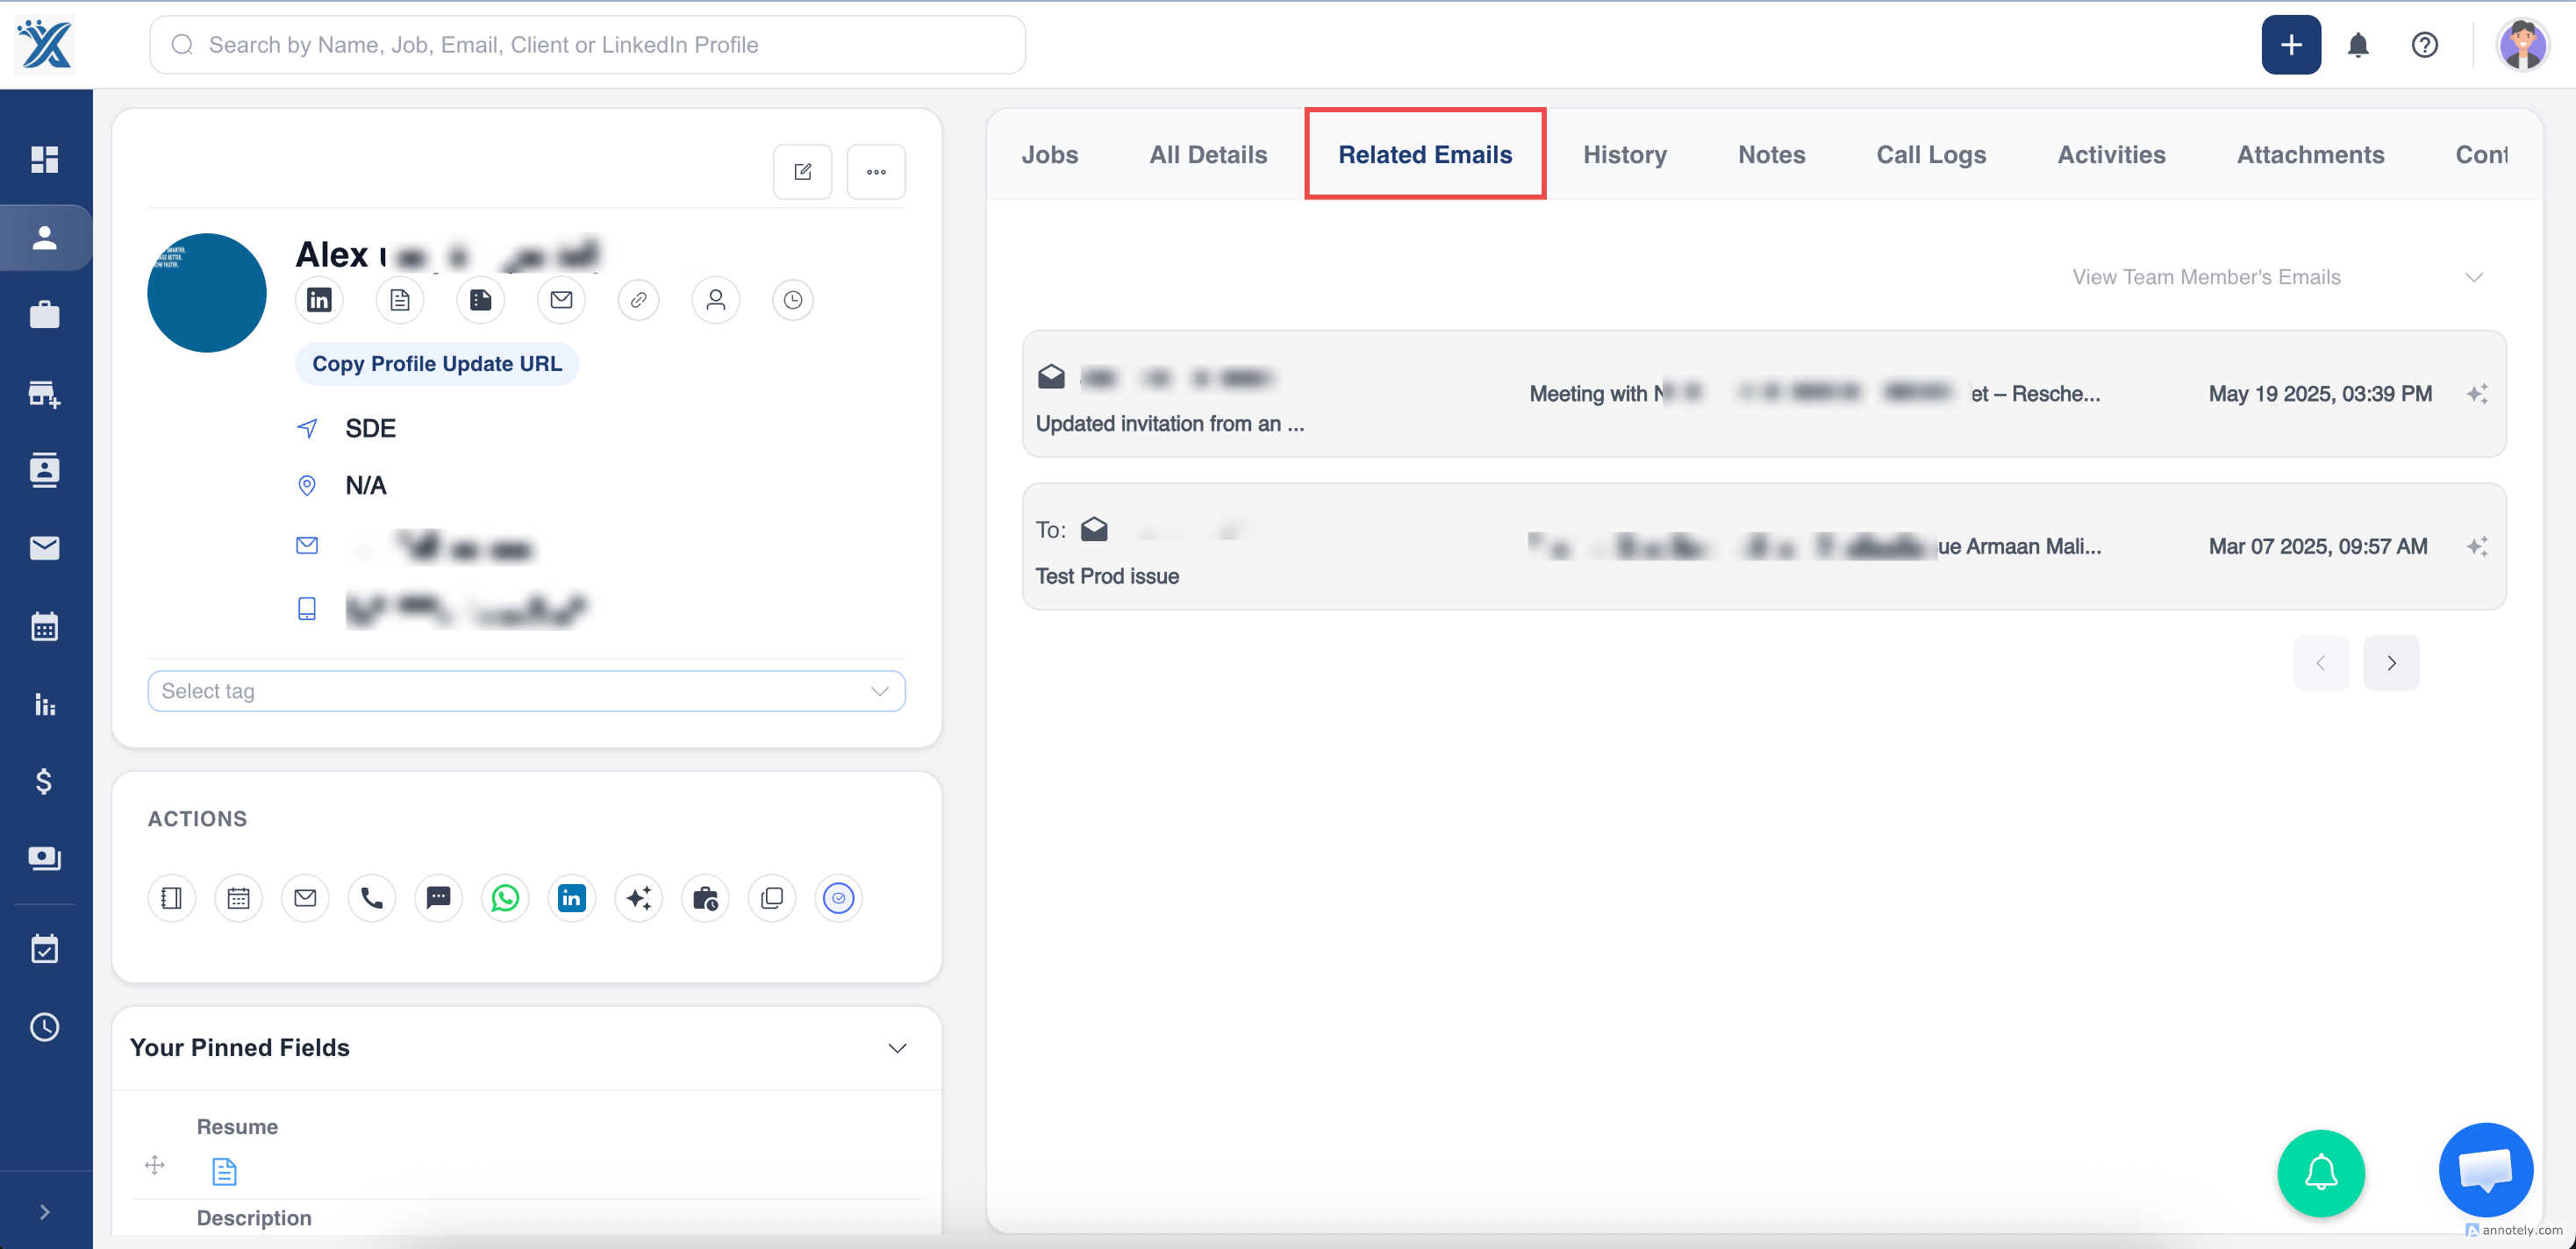
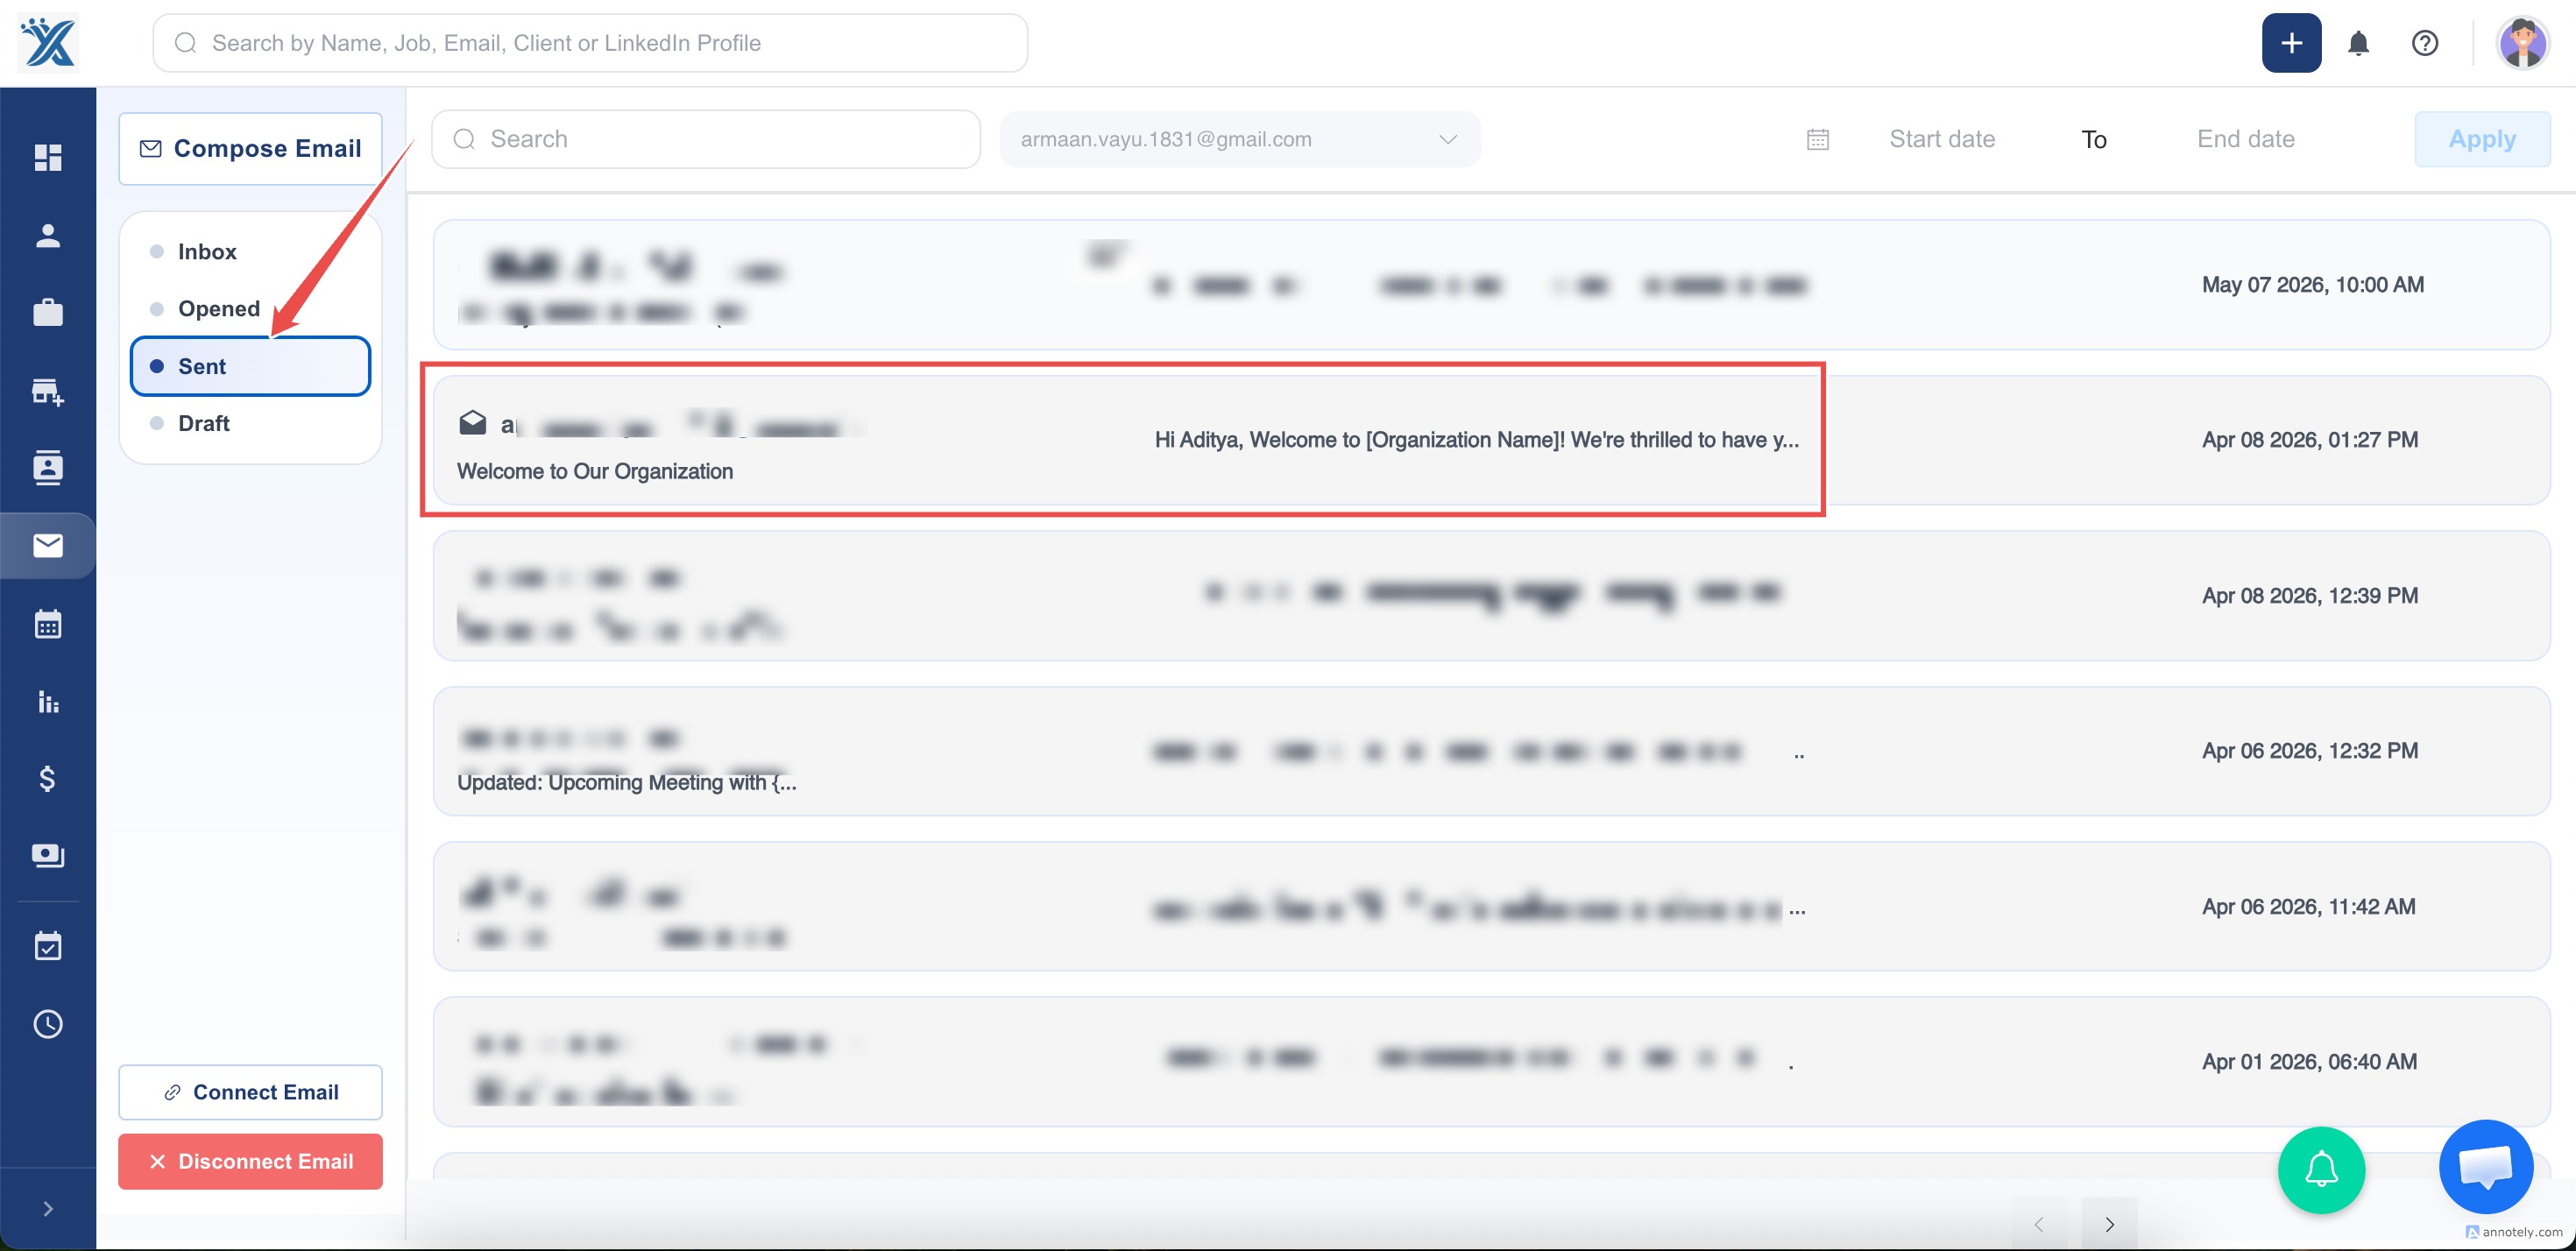
Where to View Sent Emails
Section titled “Where to View Sent Emails”You can view sent emails from two locations:
- The “Sent” section in the Email view

- The Emails section on the candidate’s detail page
Important Notes
Section titled “Important Notes”- Only automated templates made for candidates will be shown.
- The sender email must be properly connected and verified.
- Emails are sent immediately after the stage change— no manual action required.
Contact Email Triggers
Section titled “Contact Email Triggers”Contact triggers send emails automatically when a contact’s stage is updated. This ensures smoother communication with clients and enhances transparency.
How to Set Up
Section titled “How to Set Up”- Go to Admin Settings Open Admin Settings → Email Trigger.
- Click “Add Email Trigger”
Fill in the following:
- Name: Provide a meaningful trigger name.
- Event: Select Contact Stage is Changed.
- Event Value: Choose the contact stage that should activate the email.
- Select Email Template: Choose an automated contact template.
- Select Email: Pick a connected and authorized sender email.
- Save the Trigger The trigger is activated immediately upon saving—no extra step needed.
How It Works
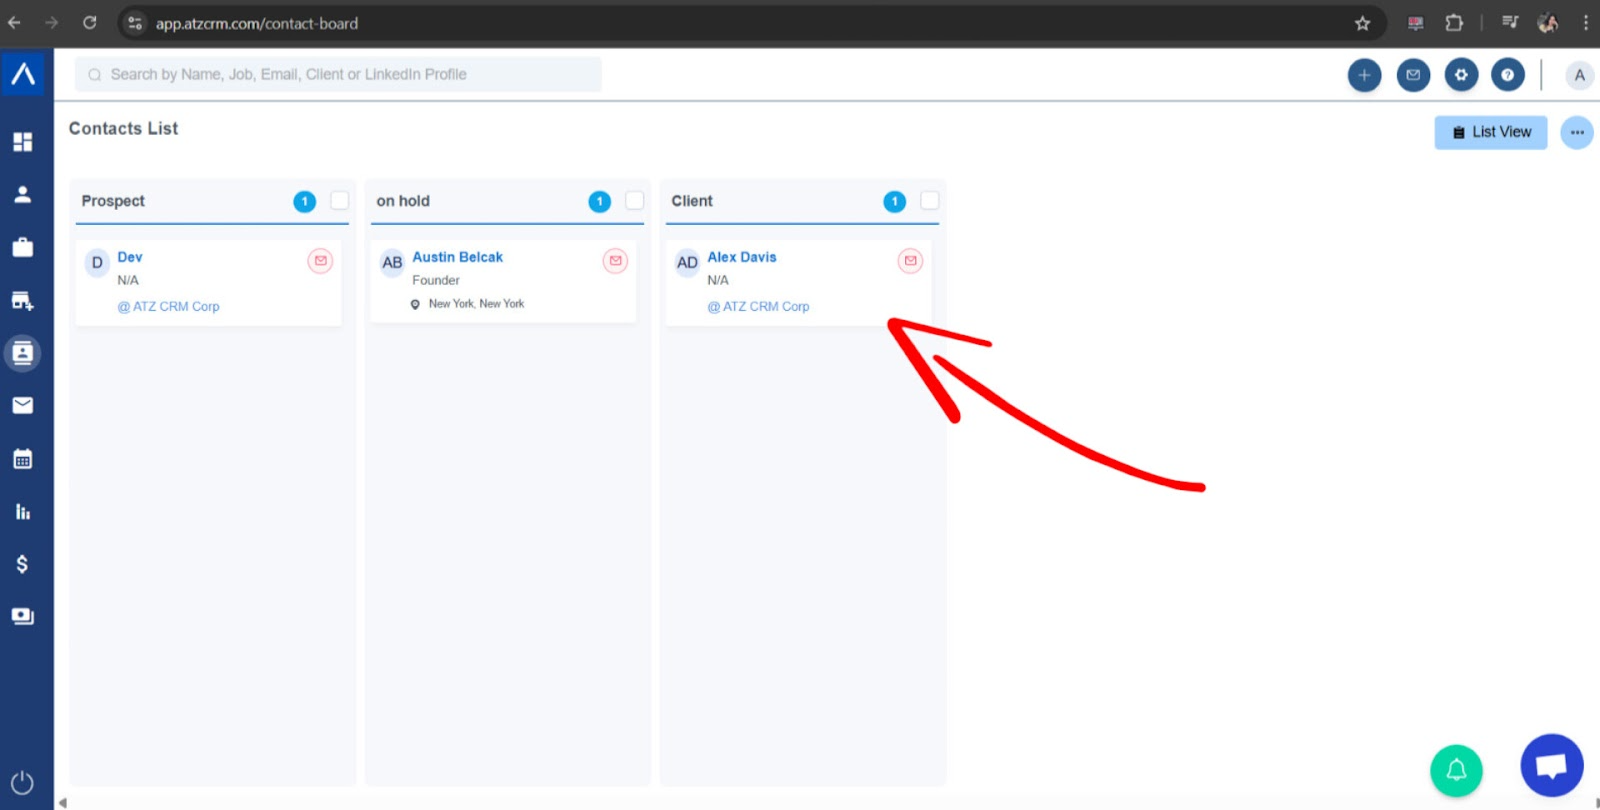
Section titled “How It Works”- When a contact’s stage is updated (e.g., from on hold to client ), and a trigger exists for the new stage: → The selected email template is sent automatically (as long as the contact has an email address)
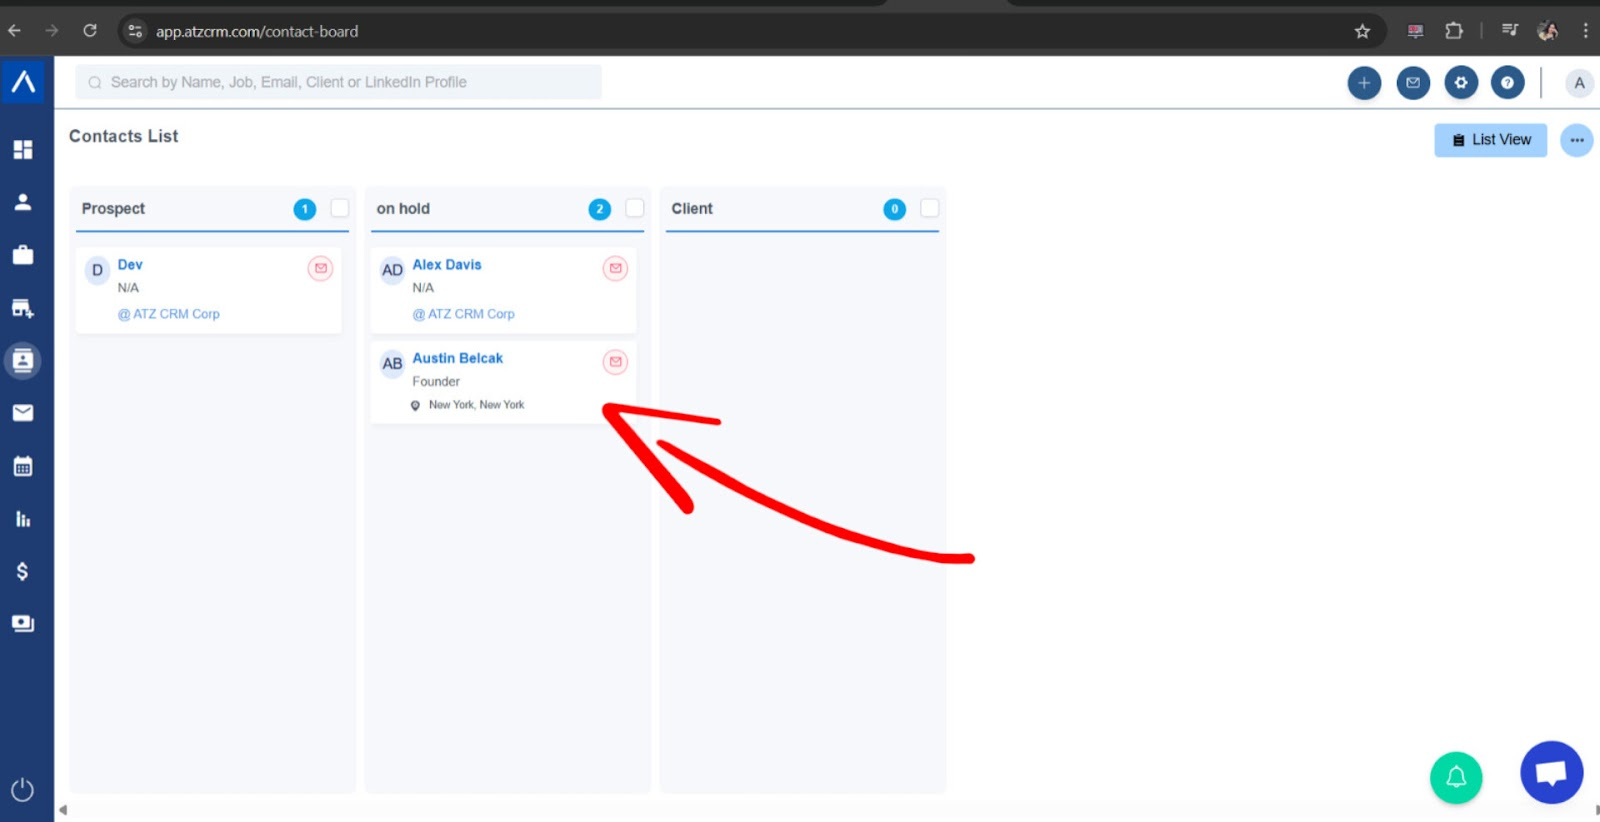
- You can change the stage:
- From the contact’s profile page
- Or directly from the contact list/board view
Example: If a contact is moved to the Interested stage and a trigger is defined for it, the corresponding email will be sent instantly.
Where to View Sent Emails
Section titled “Where to View Sent Emails”You can find triggered emails in:
- The “Sent” section in the email tab
- The Emails section on the contact’s detail page
Important Notes
Section titled “Important Notes”- Only automated templates created for contacts will be listed.
- Ensure the sender email is properly integrated and verified.
- Emails are delivered instantly when the stage changes.
If you have any questions or need assistance while setting up email triggers, feel free to reach out to our chat support team. We’re happy to assist!
Hope this helps:)